Pizza Stone: The 5-Step Guide to Restaurant-Quality Crusts
This version of Pizza Stone: The 5-Step Guide to Restaurant-Quality Crusts is written for a normal weeknight kitchen: everyday ingredients, one pan, no special equipment.
Room-temperature ingredients behave differently from cold ones — it changes the timing more than people expect. Storage and reheating notes are at the end.
-
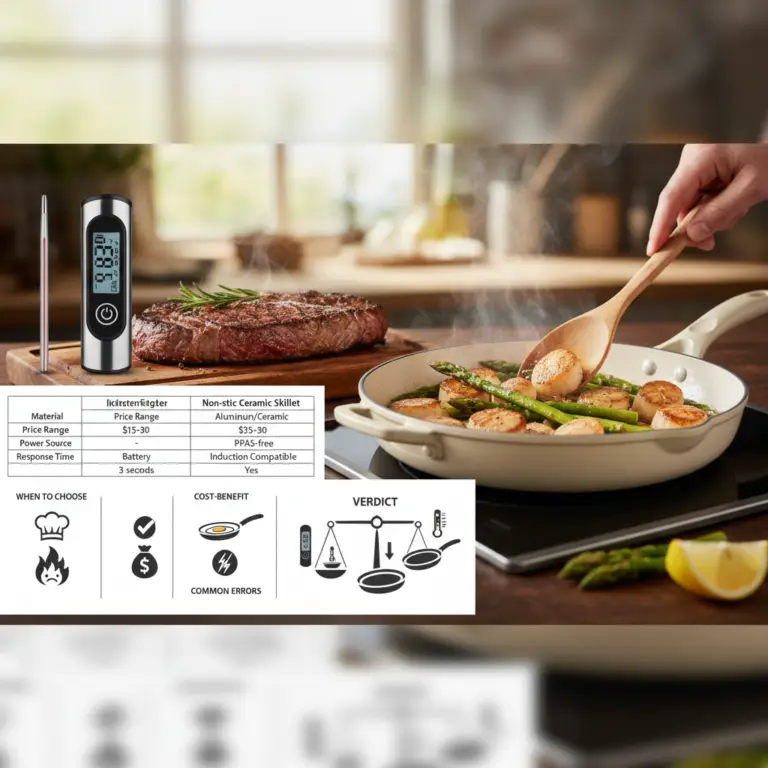
Digital Instant-Read Meat Thermometer vs Kitchen Tongs: 2 Essentials
Stop overcooking your low-carb proteins. Using the right tool ensures your chicken stays j… -
15 Best Equipamentos: The Essential Toolkit for Low-Carb Cooking
Mastering low-carb cooking requires precision tools that save time and ensure consistent r… -
Non-Stick Ceramic Skillet: 5 Facts Before You Buy
A quality Non-Stick Ceramic Skillet ($35-$90) transforms low-carb cooking by reducing oil … -
The Salad Spinner: 5 Reasons to Upgrade Your Prep Routine
A high-quality salad spinner cuts drying time by 90% and keeps your greens crisp for up to…
A Pizza Stone is the single best tool to get a crispy, 0% soggy crust in your oven. Using this $25-$50 tool, you can cut your bake time by 5 minutes while achieving professional results at home.
The Heat Soak Method: in practice
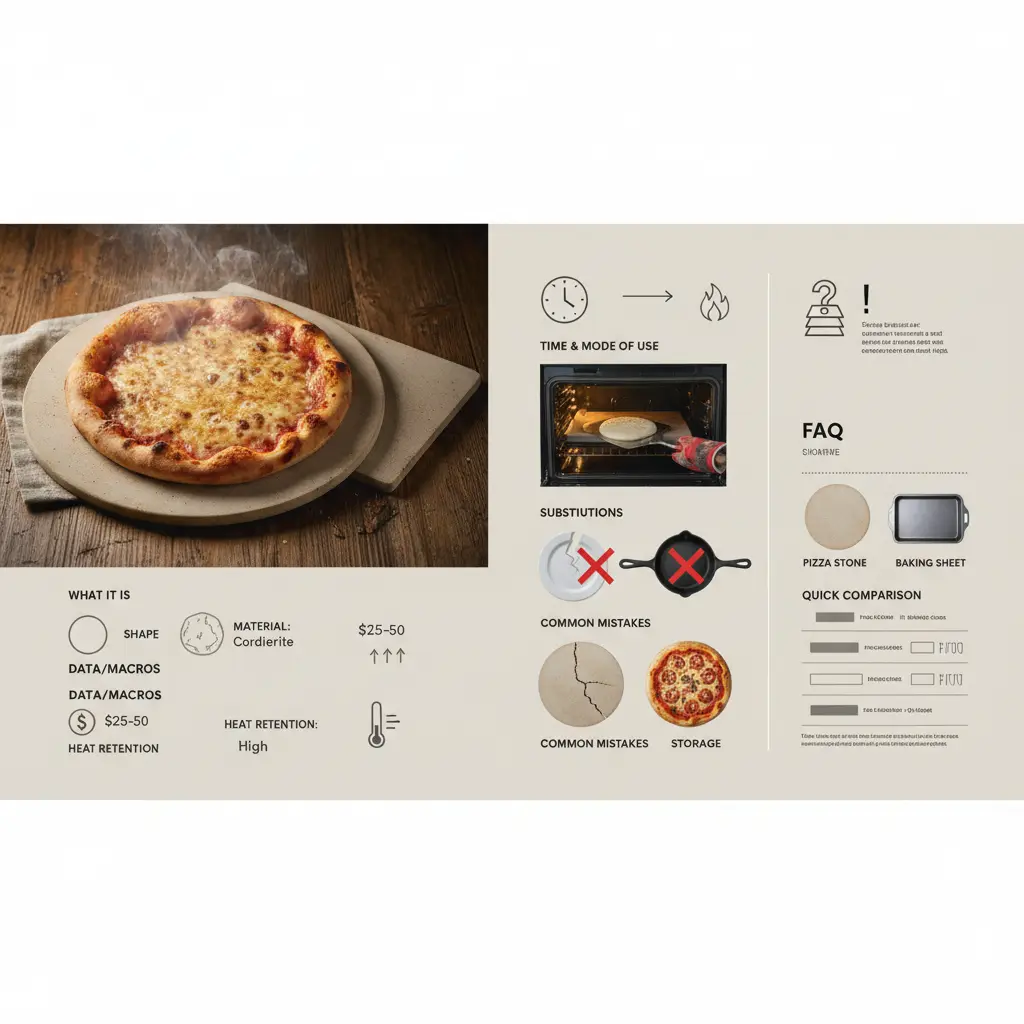
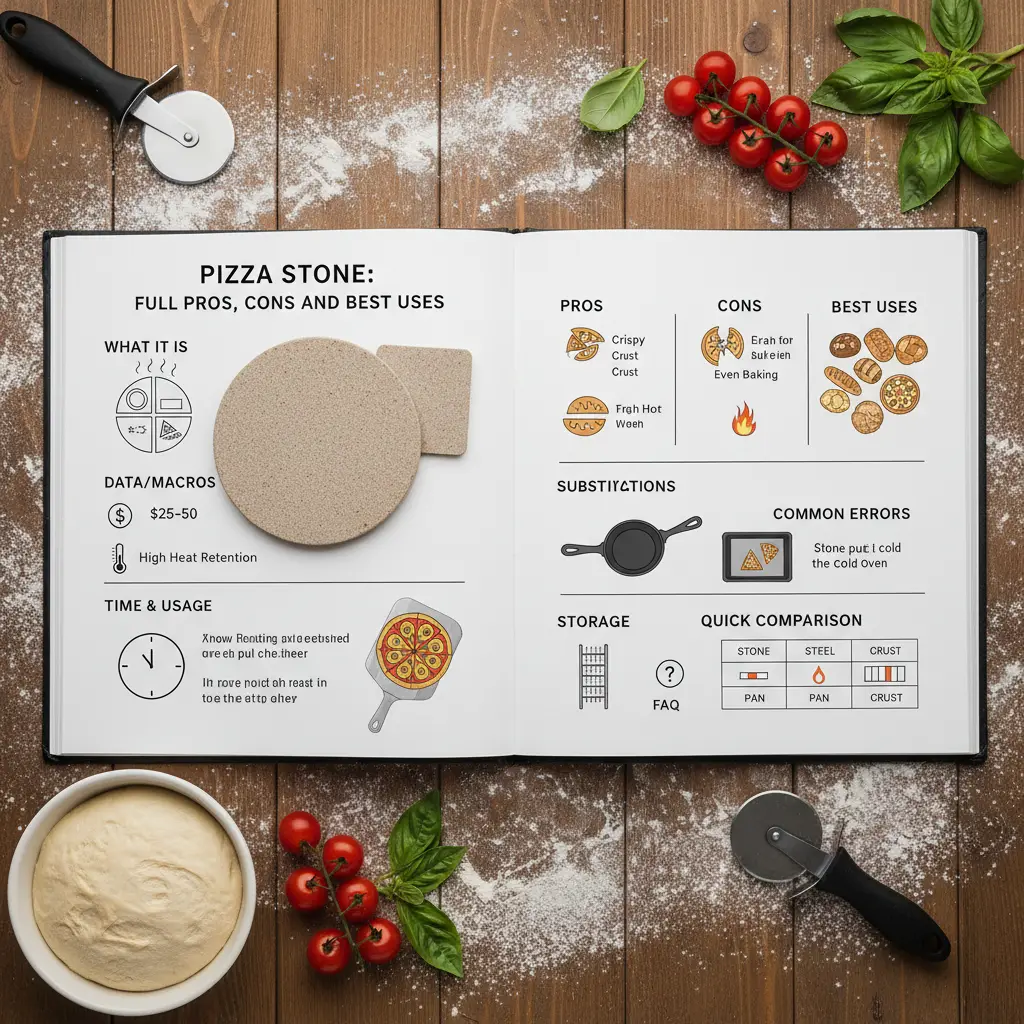
What is a Pizza Stone?
A Pizza Stone is a slab of cordierite material designed to mimic a professional brick oven. It pulls moisture from the dough while distributing heat evenly across the surface.
Because it retains high heat, it prevents the temperature drop that happens when you open your oven door. This is crucial for achieving that characteristic crunch on low-carb crusts.
- Typically round or rectangular shapes available.
- Made from cordierite to withstand thermal shock.
- High heat retention keeps the base crispy.
Usage and Best Practices
Always place the stone in the oven before turning it on. If you put a cold stone in a 500°F oven, the thermal shock can cause it to crack.
After baking, leave the stone inside the oven until it cools completely. Moving it while hot or cleaning it with water will ruin the material.
- Use a wooden or metal peel for safe transfer.
- Dust with cornmeal or almond flour to prevent sticking.
- Never use soap, as the stone is porous and will absorb it.
Low-Carb Crust Substitutions
When using fathead dough or almond flour crusts, the stone is your best friend. These doughs hold more moisture than traditional wheat, so they need the extra drying time.
You can also use the stone to crisp up store-bought keto crusts. It works just as well for cauliflower bases as it does for traditional pizza.
- Substitute almond flour for wheat to keep it keto.
- Use parchment paper for the first 3 minutes if dough is sticky.
- Brush edges with garlic butter for better browning.
Pros and honest limits
- Superior crust crunch
- Consistent heat distribution
- Affordable price point
- Takes long to preheat
- Cannot use soap
- Heavy and can crack
Storage and Maintenance
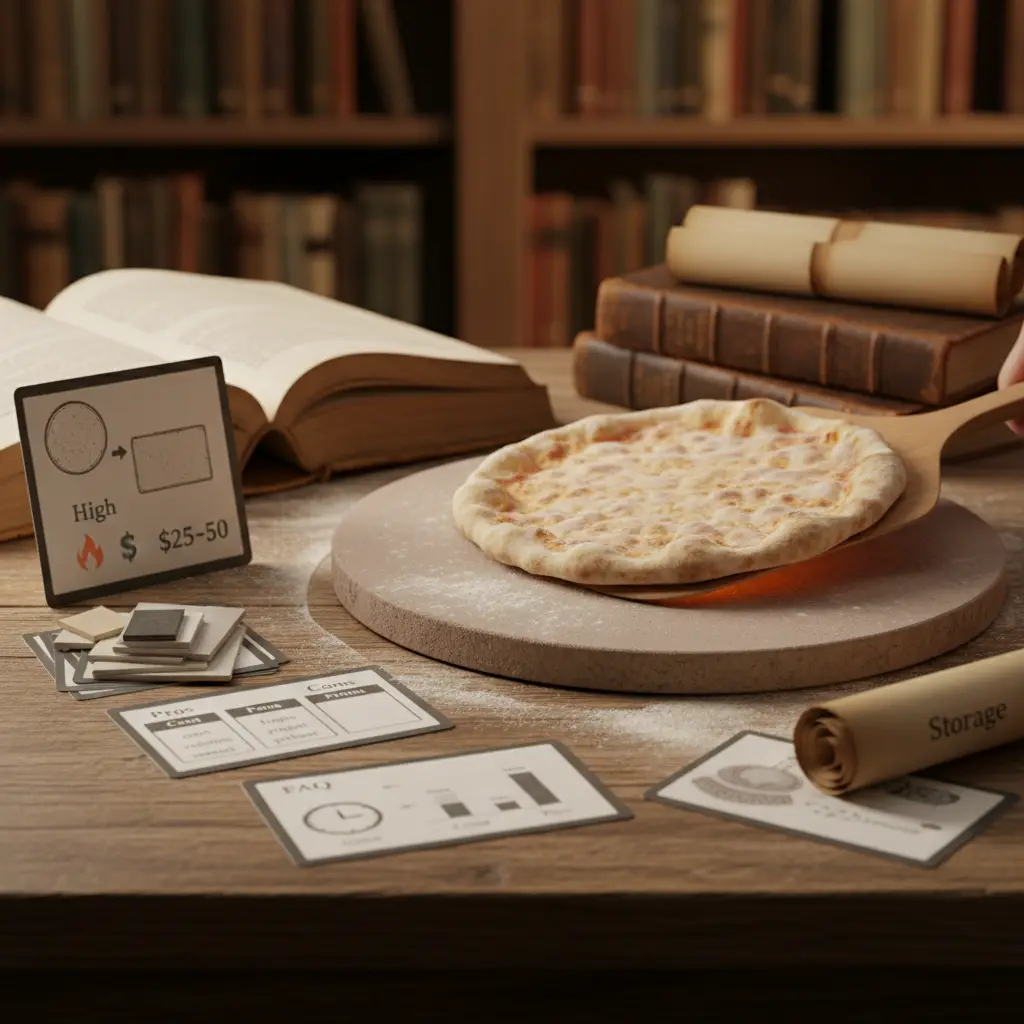
The best place to store your stone is actually on the bottom rack of your oven. It helps stabilize the oven temperature even when you aren't baking pizza.
If you must remove it, ensure it is completely room temperature. Wrap it in a dry cloth to prevent scratches and chips on the edges.
- Scrape off charred food with a plastic scraper.
- Wipe with a damp cloth only once cooled.
- Store in a dry place to prevent mold growth.
Practical comparison
| Feature | Pizza Stone | Baking Steel |
|---|---|---|
| Material | Cordierite | Carbon Steel |
| Price | $25-$50 | $80-$150 |
| Heat Retention | High | Very High |
| Weight | Medium | Heavy |
Frequently asked questions
Can I use a pizza stone in an air Air Fryer Accessories to Save 20 Minutes Daily">fryer?
Only if your air fryer is large enough to fit it and allow airflow. Generally, stones are designed for full-sized ovens.
How often should I clean the stone?
Only when there is loose debris. Simply scrape it off; do not wash it unless absolutely necessary.
Will a pizza stone make my low-carb pizza crunchy?
Yes, it is the best way to remove excess moisture from almond or cauliflower crusts.
How long does a stone last?
With proper care, a cordierite stone can last for years without needing replacement.
Conclusion
A pizza stone is a simple, effective tool for anyone serious about low-carb baking. By maintaining steady heat, it transforms soft crusts into crispy perfection. Try it this weekend and see the difference in your next homemade pizza night.
RSS
Related reading
Read next
How to tell it is done (without opening and poking every minute)
- A clean toothpick is for cake; for a moist batter you want damp crumbs, never wet batter.
- The centre should spring back under light pressure — if it dips, give it 5–8 more minutes.
- A strong smell in the kitchen means almost done. It is the most underrated and most accurate cue.
- Home ovens run up to 35 °F off: a cheap oven thermometer fixes more problems than any recipe tweak.
- Do not open the door for the first two thirds of the bake — that temperature drop is what sinks it.
The 5 mistakes that ruin this recipe — and the fix for each
- Cold ingredients. Cold eggs and dairy curdle the batter. Twenty minutes at room temperature fixes it.
- Overmixing after the flour. It builds gluten and turns the crumb rubbery. Mix only until the flour disappears.
- Wrong pan. Batter that sits too deep bakes outside and stays raw inside. Use the conversion table below.
- Opening the oven early. That sudden temperature drop is the classic cause of a sunken centre.
- Slicing hot. The structure is still setting; 15 minutes of rest changes every slice.
Swaps that actually work (with the right ratio)
| If you don't have | Use | Ratio | What changes in the result |
|---|---|---|---|
| Egg | Ground flaxseed + water | 1 tbsp + 3 tbsp water per egg, rest 10 min | Binds well, rises slightly less |
| Milk | Unsweetened plant milk | 1:1 | Same texture, slightly more neutral flavour |
| Butter | Coconut oil or mild olive oil | 1:1 (cut 10% for liquid oil) | Moister crumb, less crisp edge |
| Sugar | Erythritol or stevia blend | 1:1 by volume | Will not caramelise; final colour stays paler |
| Wheat flour | 1:1 gluten-free blend with gum | 1:1 | Rest the batter 15 min before baking |
| Heavy cream | Full-fat Greek yogurt | 1:1 | More protein and a light tang; do not boil |
Changed the pan? Adjust the time like this
| Original pan | Equivalent | Time adjustment | Watch out for |
|---|---|---|---|
| 8" round | 8×8" square | Same time | Square corners bake faster |
| 9" round | 9×13" pan | −5 to −8 min | Thinner batter, check early |
| Loaf pan | 6 jumbo muffin cups | −15 to −20 min | Cupcakes bake far faster |
| Deep casserole | Two shallow dishes | −10 min | Spreads the heat and prevents a raw centre |
Store, freeze and reheat without wrecking the texture
| Where | How long | How to store | How to bring it back |
|---|---|---|---|
| Counter | 2 days | Airtight box, cut side down | Oven at 300 °F for 6 min |
| Fridge | 5 days | Wrap each slice in film | Microwave 15 s or oven 300 °F for 8 min |
| Freezer | 3 months | Slices separated by parchment | Thaw wrapped to keep the moisture in |
Frequently asked questions
Can I make Pizza Stone: The 5-Step Guide to Restaurant-Quality Crusts ahead?
Yes. Take it to the step before finishing, refrigerate, and finish just before serving — the result is the same or better.
Can I double the recipe?
Yes. Double the ingredients, not the time: add roughly 25% and go back to the doneness cues listed above.
What is the real yield per serving?
Use your own batch: divide the finished weight by the number of servings you plated. Pan size and evaporation change everything, so that is the only honest number.
Does it work on any oven or stove?
Yes, but equipment varies by up to 35 °F. Judge by the doneness cues, not the clock, and note your own timing.
How well do leftovers keep?
Very well, following the storage table above. Freeze in flat portions: they thaw evenly and hold their texture.