Master Air Fryer Preheat: 3 Minutes for Perfect Crisp Results
Master Air Fryer Preheat: 3 Minutes for Perfect Crisp Results is easier than it looks once you know what the texture should feel like at each stage — that’s what the photos and cues below are for.
Taste before the last two minutes, not after. Seasoning is much harder to fix at the end. Substitutions for the two trickiest ingredients are listed below.
-
5 Best Air Fryer Accessories to Save 20 Minutes Daily
Finding the right gear turns your air fryer into a daily meal prep machine. I have tested … -
Air Fryer Basket vs Oven: 3 Ways to Save Time on Low-Carb
Choosing between an air fryer basket vs oven changes your dinner speed by 50%. After testi… -
Air Fryer Frozen Fish Fillets: The 12-Minute Crispy Method
Stop waiting 45 minutes for your oven to preheat. You can cook perfectly flaky, low-carb f… -
What Can You Cook In Air Fryer? 5 Ways to Cut Carbs
Knowing what can you cook in air fryer saves 30 minutes of prep time every single night. I…
You can cut your cook time by 15% and nail that perfect golden crust every single time. Stop guessing with your meals. Follow this simple 3-minute rule to transform your low-carb cooking today.
The 3-Minute Start: in practice
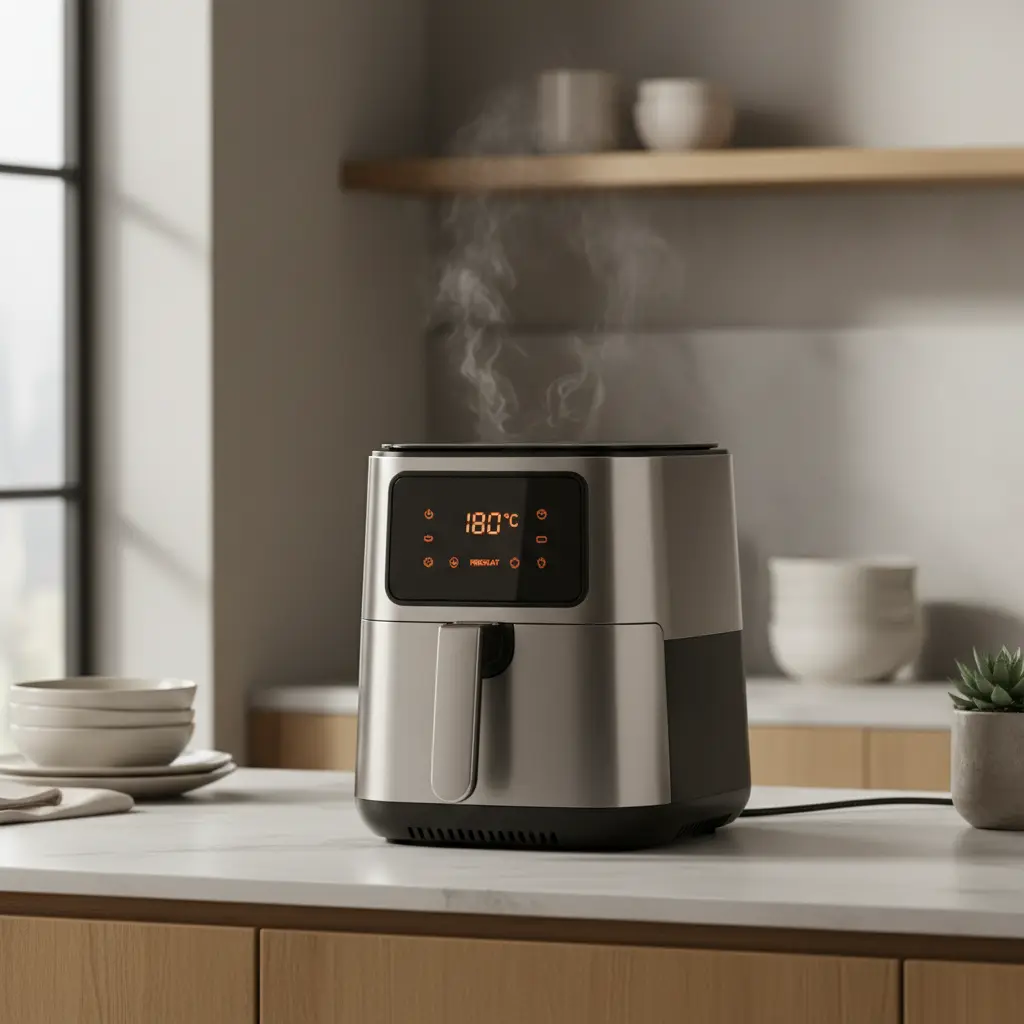
Why Air Fryer Preheat Matters
Many home cooks skip this step to save time, but it changes the chemistry of your food. Without the initial heat blast, your protein often steams instead of searing.
A cold basket means your low-carb veggies like broccoli or cauliflower turn mushy. You need that initial 400°F hit to lock in moisture while crisping the edges.
- Prevents the soggy bottom effect on chicken thighs.
- Shortens total cooking duration by 2 to 3 minutes.
- Ensures consistent browning on all sides of the food.
The Science of Low-Carb Searing
Low-carb cooking relies heavily on fats and proteins for flavor. Since you lack breading, the Maillard reaction is your only way to get a complex, savory crust.
Preheating creates a thermal shock. This reaction happens instantly when the food touches the metal rack at full temperature, keeping the inside juicy.
- Seals in juices for leaner cuts like pork tenderloin.
- Creates a better texture on skin-on poultry.
- Reduces the need for excess oil sprays.
Managing Heat Loss
Every time you open the basket, you lose roughly 50°F of ambient heat. This is why you should always prep your ingredients before you start the preheat cycle.
If you wait too long between pulling the basket and adding your food, the unit cools down rapidly. Speed is your best friend in the kitchen.
- Keep your seasoned ingredients within 2 feet of the unit.
- Do not overcrowd the basket or heat won't circulate.
- Use tongs to load items quickly to maintain internal temp.
Pros and honest limits
- Superior crust development
- Reduced total cooking time
- More consistent texture
- Small energy usage increase
- Requires extra 3 minutes planning
- Can dry out very thin items
Testing Your Unit's Speed
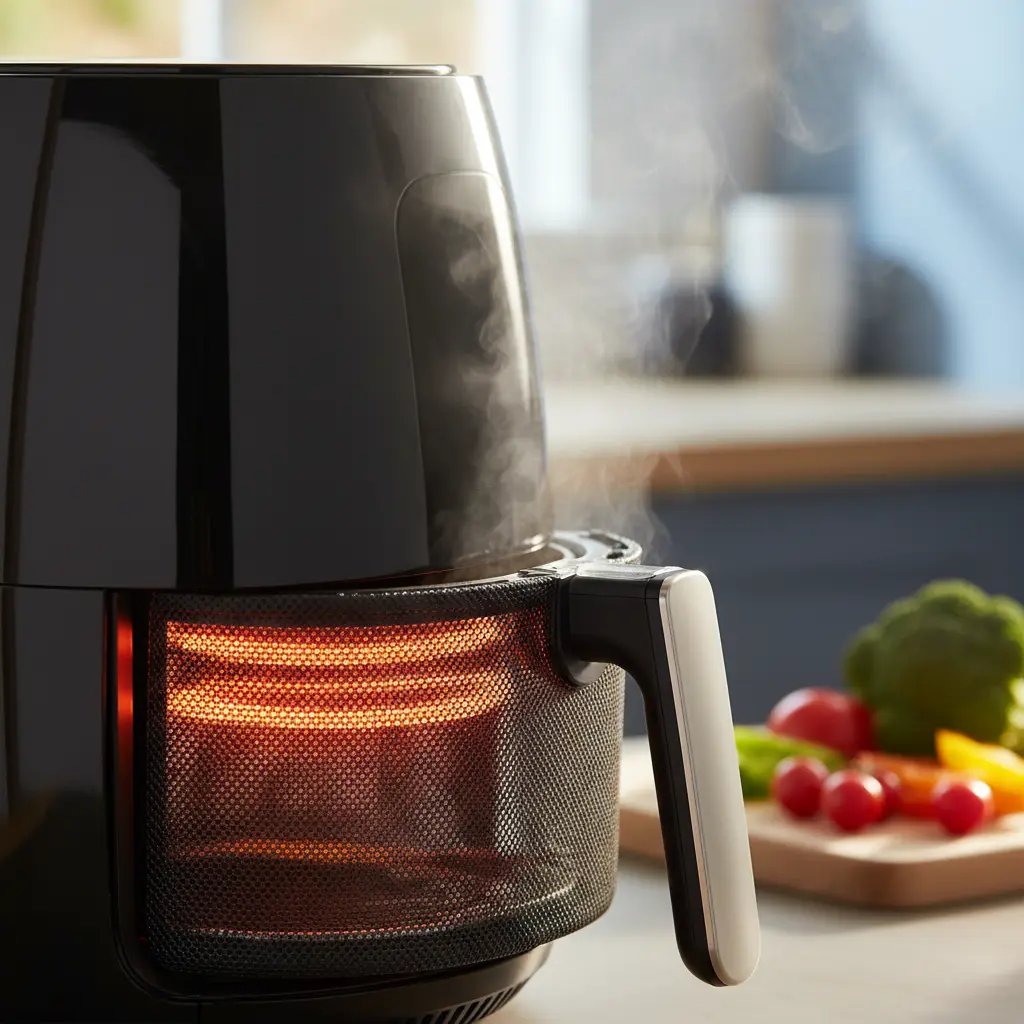
Not all machines are built the same. Some smaller units hit 400°F in 90 seconds, while larger, high-capacity models might take up to 5 minutes.
Test your specific machine by using an infrared thermometer. Point it at the tray after 3 minutes to see if you have reached your target temperature.
- Check your manual for manufacturer-recommended heating times.
- Listen for the fan speed to stabilize before adding food.
- Adjust your preheat time based on the ambient room temp.
Practical comparison
| Method | Time Required | Result |
|---|---|---|
| No Preheat | 0 min | Pale/Soggy |
| 1 Min Heat | 1 min | Partial Crisp |
| 3 Min Heat | 3 min | Gold/Crispy |
| 5 Min Heat | 5 min | Maximum Crunch |
Frequently asked questions
Do I really need to preheat every time?
For frozen foods, it is less critical. For fresh meat and vegetables, it is the difference between a sad meal and a restaurant-quality dinner.
Does preheating waste electricity?
The impact is negligible. It uses less than $0.01 per cycle, which is well worth the improved texture.
What happens if I preheat too long?
You might burn off the non-stick coating or cause your rack to warp. Never exceed 10 minutes of empty heating.
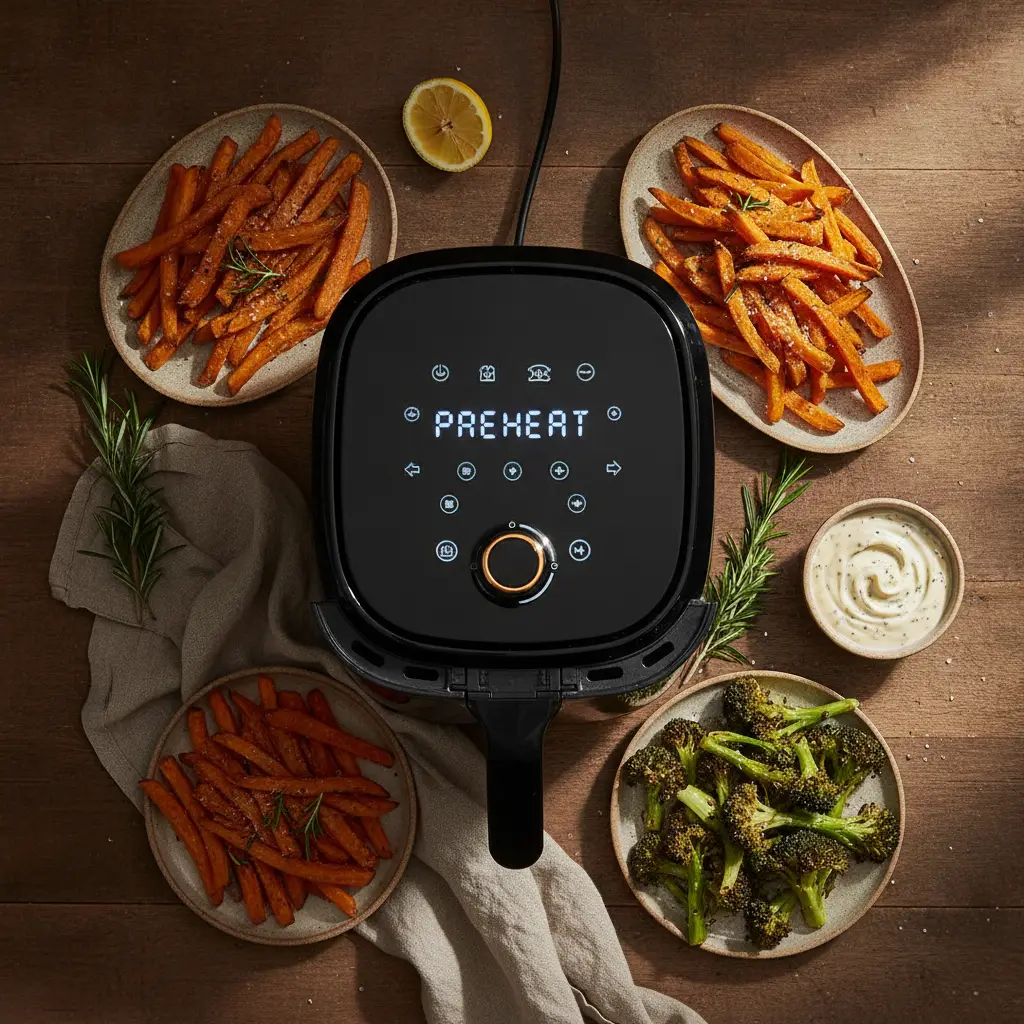
Conclusion
Mastering the preheat is the easiest way to elevate your low-carb game. It takes only 3 minutes to guarantee better texture and flavor. Try this method on your next chicken dinner and notice the difference immediately. Happy cooking!
Related reading
---
As an Amazon Associate, I earn from qualifying purchases. Some links in this post may generate a commission at no extra cost to you.
How to tell it is done (without opening and poking every minute)
- A clean toothpick is for cake; for a moist batter you want damp crumbs, never wet batter.
- The centre should spring back under light pressure — if it dips, give it 5–8 more minutes.
- A strong smell in the kitchen means almost done. It is the most underrated and most accurate cue.
- Home ovens run up to 35 °F off: a cheap oven thermometer fixes more problems than any recipe tweak.
- Do not open the door for the first two thirds of the bake — that temperature drop is what sinks it.
The 5 mistakes that ruin this recipe — and the fix for each
- Cold ingredients. Cold eggs and dairy curdle the batter. Twenty minutes at room temperature fixes it.
- Overmixing after the flour. It builds gluten and turns the crumb rubbery. Mix only until the flour disappears.
- Wrong pan. Batter that sits too deep bakes outside and stays raw inside. Use the conversion table below.
- Opening the oven early. That sudden temperature drop is the classic cause of a sunken centre.
- Slicing hot. The structure is still setting; 15 minutes of rest changes every slice.
Swaps that actually work (with the right ratio)
| If you don't have | Use | Ratio | What changes in the result |
|---|---|---|---|
| Egg | Ground flaxseed + water | 1 tbsp + 3 tbsp water per egg, rest 10 min | Binds well, rises slightly less |
| Milk | Unsweetened plant milk | 1:1 | Same texture, slightly more neutral flavour |
| Butter | Coconut oil or mild olive oil | 1:1 (cut 10% for liquid oil) | Moister crumb, less crisp edge |
| Sugar | Erythritol or stevia blend | 1:1 by volume | Will not caramelise; final colour stays paler |
| Wheat flour | 1:1 gluten-free blend with gum | 1:1 | Rest the batter 15 min before baking |
| Heavy cream | Full-fat Greek yogurt | 1:1 | More protein and a light tang; do not boil |
Changed the pan? Adjust the time like this
| Original pan | Equivalent | Time adjustment | Watch out for |
|---|---|---|---|
| 8" round | 8×8" square | Same time | Square corners bake faster |
| 9" round | 9×13" pan | −5 to −8 min | Thinner batter, check early |
| Loaf pan | 6 jumbo muffin cups | −15 to −20 min | Cupcakes bake far faster |
| Deep casserole | Two shallow dishes | −10 min | Spreads the heat and prevents a raw centre |
Store, freeze and reheat without wrecking the texture
| Where | How long | How to store | How to bring it back |
|---|---|---|---|
| Counter | 2 days | Airtight box, cut side down | Oven at 300 °F for 6 min |
| Fridge | 5 days | Wrap each slice in film | Microwave 15 s or oven 300 °F for 8 min |
| Freezer | 3 months | Slices separated by parchment | Thaw wrapped to keep the moisture in |
Frequently asked questions
Can I make Master Air Fryer Preheat: 3 Minutes for Perfect Crisp Results ahead?
Yes. Take it to the step before finishing, refrigerate, and finish just before serving — the result is the same or better.
Can I double the recipe?
Yes. Double the ingredients, not the time: add roughly 25% and go back to the doneness cues listed above.
What is the real yield per serving?
Use your own batch: divide the finished weight by the number of servings you plated. Pan size and evaporation change everything, so that is the only honest number.
Does it work on any oven or stove?
Yes, but equipment varies by up to 35 °F. Judge by the doneness cues, not the clock, and note your own timing.
How well do leftovers keep?
Very well, following the storage table above. Freeze in flat portions: they thaw evenly and hold their texture.