Air Fryer for Beginners: Master 12-Minute Low-Carb Meals
Air Fryer for Beginners: Master 12-Minute Low-Carb Meals lives or dies on two details: the temperature and the moment you stop cooking. Both are spelled out here.
Season in two stages — a little at the start, the rest at the end — instead of all at once. Scale it up or down with the conversion table further down.
-
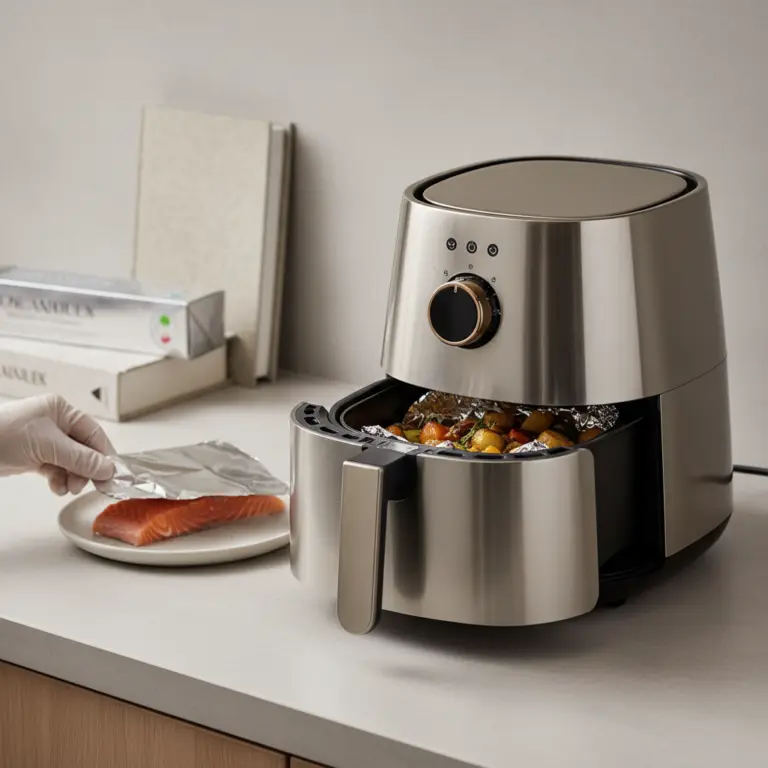
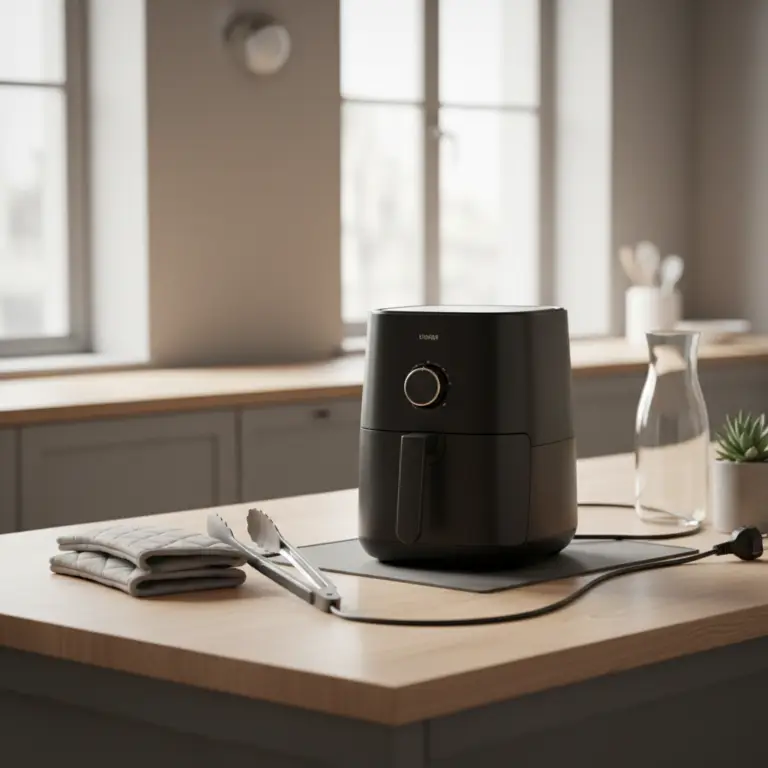
Air Fryer Safety Plastic: 3 Rules to Avoid Melting
Using the wrong material in your air fryer can ruin your dinner and your appliance. I have… -
5 Best Air Fryer Accessories to Save 20 Minutes Daily
Finding the right gear turns your air fryer into a daily meal prep machine. I have tested … -
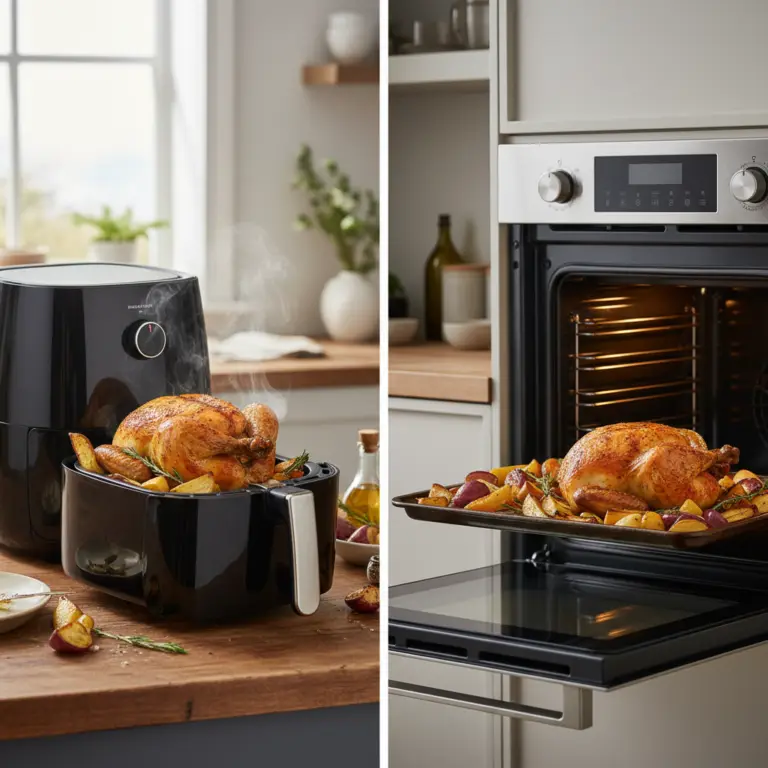
Air Fryer Basket vs Oven: 3 Ways to Save Time on Low-Carb
Choosing between an air fryer basket vs oven changes your dinner speed by 50%. After testi… -
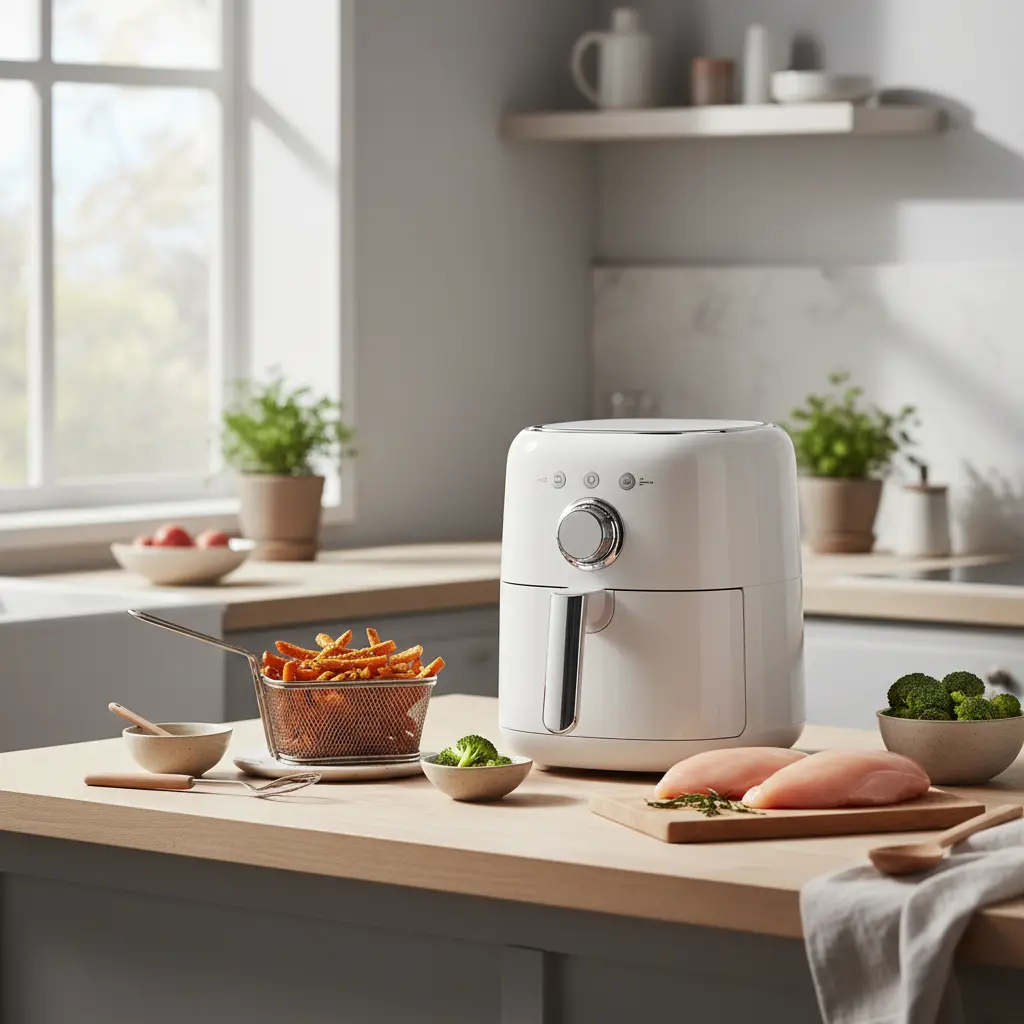
What Can You Cook In Air Fryer? 5 Ways to Cut Carbs
Knowing what can you cook in air fryer saves 30 minutes of prep time every single night. I…
Stop wasting 30 minutes preheating your oven for a single chicken breast. This guide helps you master your air fryer in 3 easy steps, cutting your weeknight prep time by 50% while keeping every meal under 10 grams of net carbs.
The 3-Step Crisp: in practice
Why Low-Carb Cooks Love It
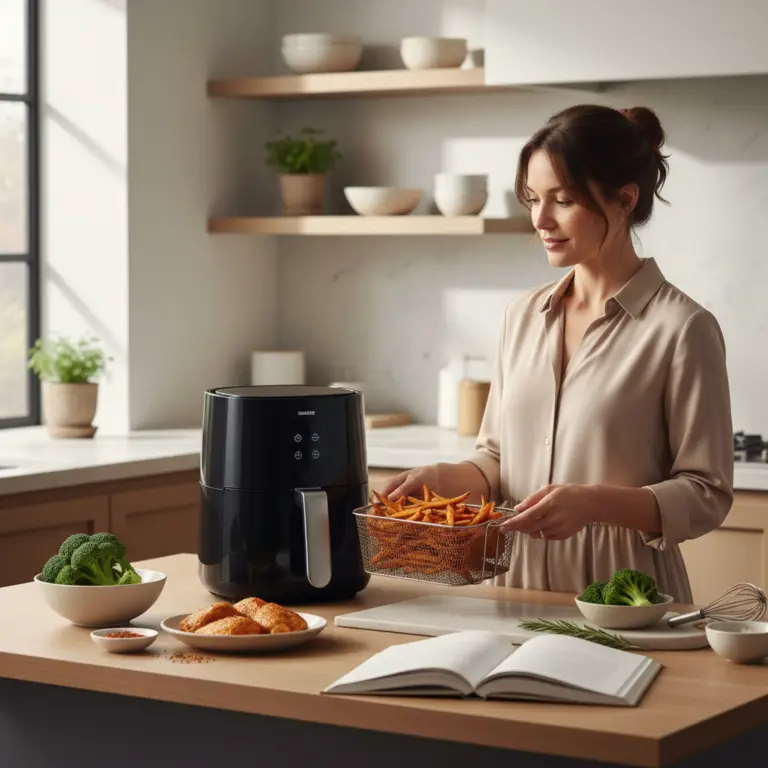
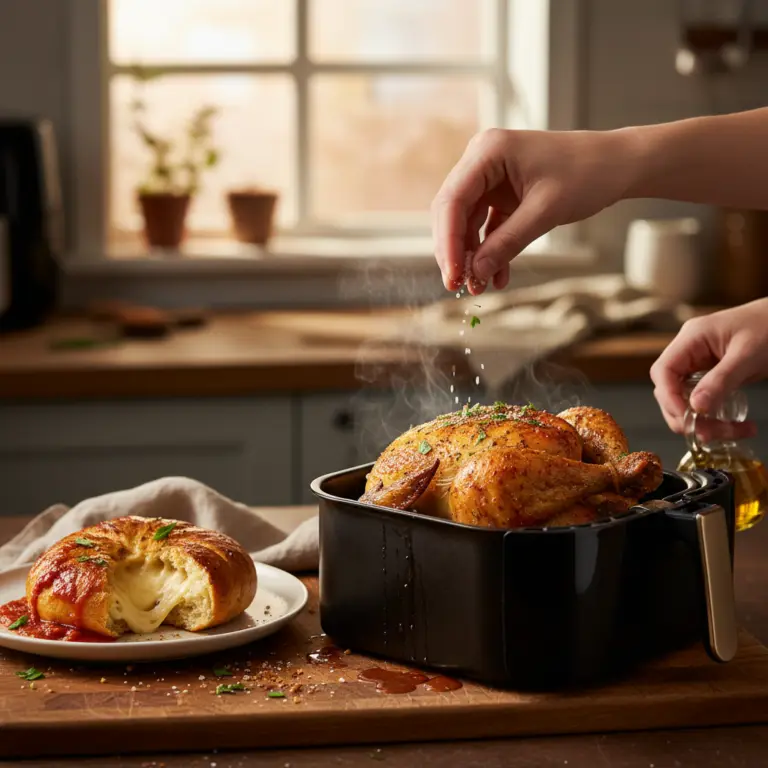
The air fryer is essentially a high-powered convection oven on your countertop. It moves heat faster than a standard oven, which is perfect for keto-friendly proteins like chicken thighs and pork chops.
You save time because you don't need to heat a massive oven cavity to 400°F. Most meals finish in under 15 minutes, preserving moisture while delivering that crunch you crave.
- Saves 20 minutes on preheat time
- Uses 80% less oil than deep frying
- Perfect for small portions of 2-4 servings
Controlling Your Temperature
Beginners often default to 400°F for everything, but that will burn your almond-flour crusts. Use 350°F for delicate fish or items with cheese toppings to prevent premature burning.
For bacon or thick-cut steak, stick to 375°F. This lower temp allows the fat to render properly without creating a bitter, charred exterior.
- Use 350°F for cheese-based crusts
- Use 400°F for frozen low-carb veggies
- Always lower heat by 25°F if using heavy seasonings
Essential Accessory Hacks
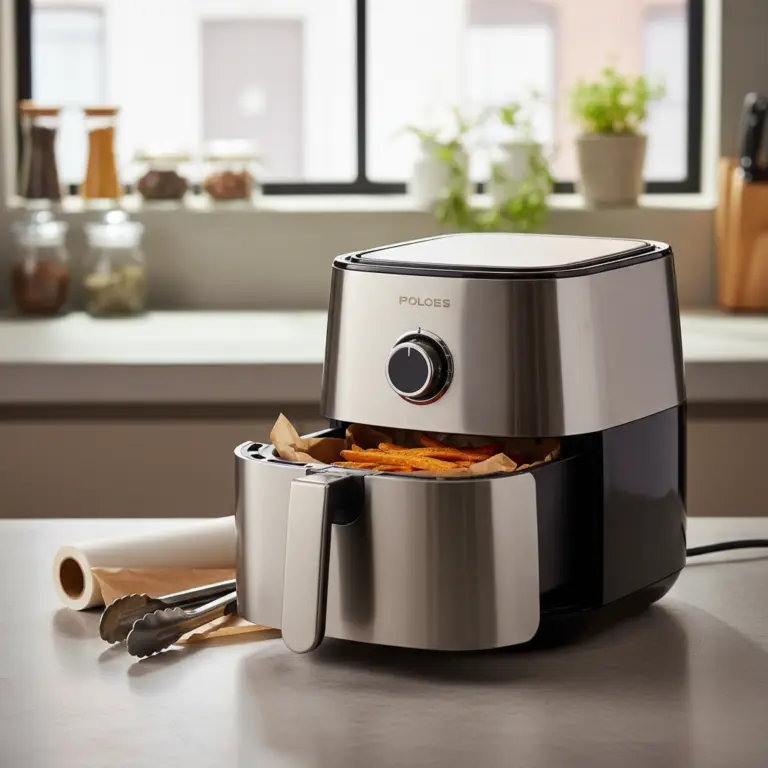
You don't need expensive gear, but a set of silicone liners saves you $50 a year in scrubbing time. They catch all the rendered fat and keep your basket coating intact.
Invest in a pair of long, silicone-tipped tongs. They protect the non-stick surface of your basket better than metal forks, which can scratch the coating in seconds.
- Use silicone liners for easy cleanup
- Keep tongs handy for the 6-minute flip
- Use parchment rounds for sticky fish
Pros and honest limits
- Extreme crisping power
- Fast preheat cycles
- Easy cleanup
- Small capacity for crowds
- Can be loud
- Requires consistent flipping
Troubleshooting Common Issues
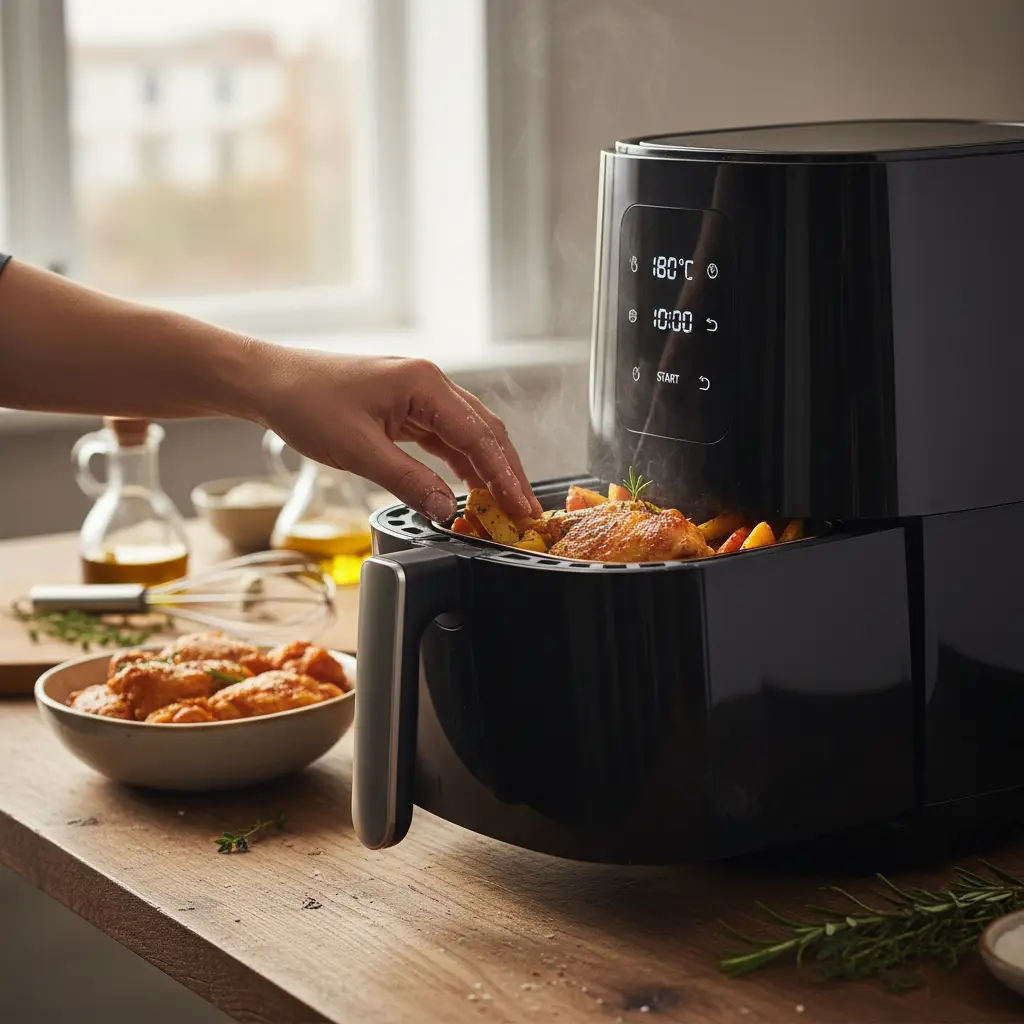
If your food comes out soggy, you probably overloaded the basket. Air needs to flow around every piece of food to create a crust.
If the food is dry, you are likely cooking it too long. Start checking your protein 2 minutes before the timer goes off to ensure you don't cross the line.
- Never stack food more than 2 layers deep
- Pat food dry with a paper towel before oiling
- Use a meat thermometer to pull chicken at 165°F
Practical comparison
| Method | Time | Texture |
|---|---|---|
| Oven | 30 min | Soft |
| Air Fryer | 12 min | Crispy |
| Pan Fry | 15 min | Greasy |
Frequently asked questions
Does it actually fry food?
It doesn't use oil submersion, so it's technically convection roasting. However, the airflow makes food taste just as crispy as deep-fried items.
How do I clean the basket?
Soak it in warm soapy water for 10 minutes. Avoid abrasive scrubbers that strip the non-stick coating.
Can I cook frozen keto meals?
Yes, just add 5 minutes to the recommended time. Always check the internal temperature before serving.
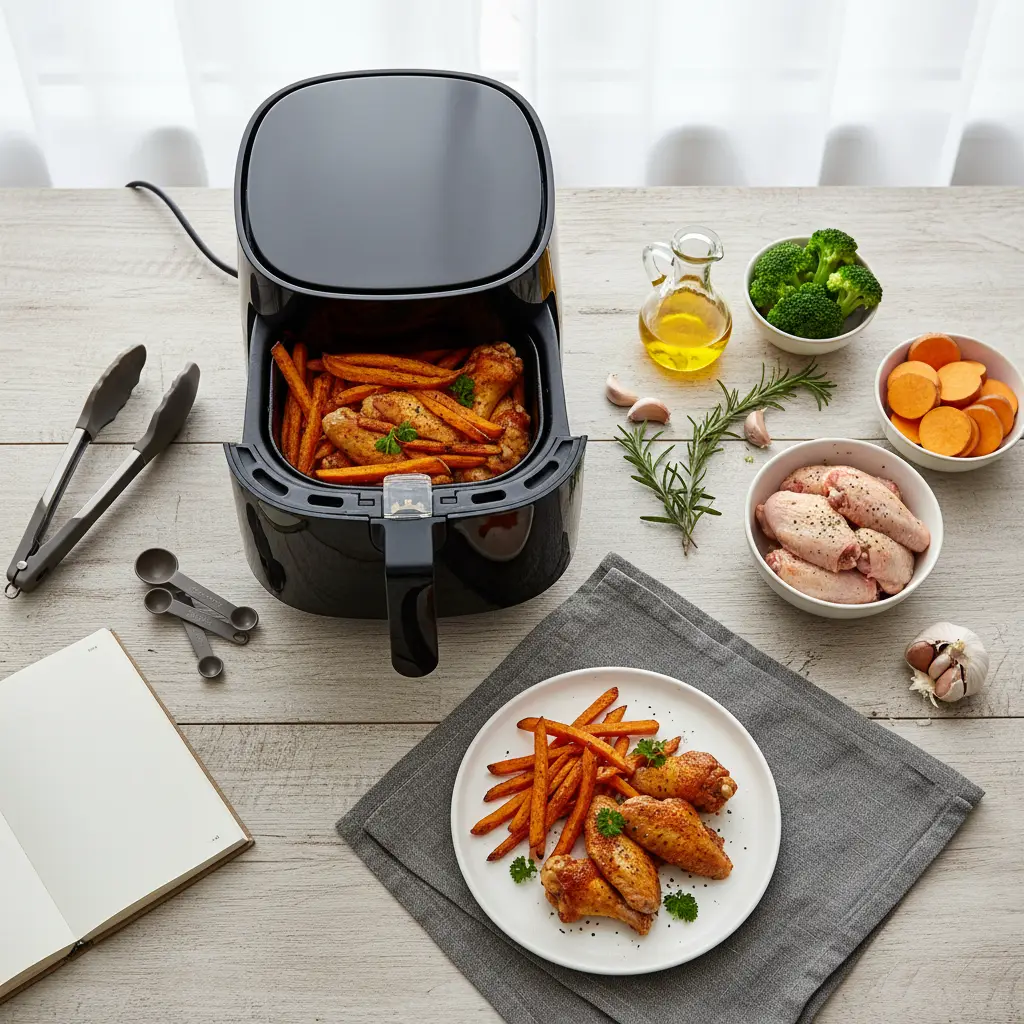
Conclusion
You now have the foundation to turn any low-carb protein into a crispy, 12-minute masterpiece. Start with simple chicken thighs this week to build your confidence. Let me know in the comments which recipe you want to try next!
📡 RSS
Related reading
How to tell it is done (without opening and poking every minute)
- Edges brown before the middle: start checking 3 minutes early, always at the centre of the piece.
- Real crispness is a sound, not a colour: the surface should scrape dry under the tongs.
- 3.2–5.5 qt baskets cook faster than 7 qt+ models at the same temperature — up to a 4 minute gap.
- Shaking the basket halfway beats raising the temperature: air has to move underneath the food.
- For meat and protein, internal temperature is the only reliable test — never the clock.
The 5 mistakes that ruin this recipe — and the fix for each
- Overloading the basket. Air stops circulating and everything steams. Cook in two batches: double the time, but you get crunch.
- Skipping the preheat. Three minutes of preheat changes crust formation. Without it the surface dries before it browns.
- Wet food. Pat dry with paper towel. Surface water turns to steam, and steam blocks crust.
- Too much oil. In an air fryer, more oil means more smoke, not more crunch. A light spray is enough.
- Never cleaning the element. Baked-on grease burns and pushes a bitter taste into the next recipe.
Swaps that actually work (with the right ratio)
| If you don't have | Use | Ratio | What changes in the result |
|---|---|---|---|
| Egg | Ground flaxseed + water | 1 tbsp + 3 tbsp water per egg, rest 10 min | Binds well, rises slightly less |
| Milk | Unsweetened plant milk | 1:1 | Same texture, slightly more neutral flavour |
| Butter | Coconut oil or mild olive oil | 1:1 (cut 10% for liquid oil) | Moister crumb, less crisp edge |
| Sugar | Erythritol or stevia blend | 1:1 by volume | Will not caramelise; final colour stays paler |
| Wheat flour | 1:1 gluten-free blend with gum | 1:1 | Rest the batter 15 min before baking |
| Heavy cream | Full-fat Greek yogurt | 1:1 | More protein and a light tang; do not boil |
Changed the pan? Adjust the time like this
| Original pan | Equivalent | Time adjustment | Watch out for |
|---|---|---|---|
| 8" round | 8×8" square | Same time | Square corners bake faster |
| 9" round | 9×13" pan | −5 to −8 min | Thinner batter, check early |
| Loaf pan | 6 jumbo muffin cups | −15 to −20 min | Cupcakes bake far faster |
| Deep casserole | Two shallow dishes | −10 min | Spreads the heat and prevents a raw centre |
Store, freeze and reheat without wrecking the texture
| Where | How long | How to store | How to bring it back |
|---|---|---|---|
| Fridge | 3–4 days | Leave uncovered 10 min before sealing | Air fryer at 350 °F for 3–4 min, no oil |
| Freezer | Up to 2 months | Freeze spread out, then bag | Straight from frozen, 350 °F for 6–8 min |
| Counter | Up to 4 hours | On a rack, never in a sealed box | Trapped steam kills the crunch |
Frequently asked questions
Can I make Air Fryer for Beginners: Master 12-Minute Low-Carb Meals ahead?
Yes. Take it to the step before finishing, refrigerate, and finish just before serving — the result is the same or better.
Can I double the recipe?
Yes. Double the ingredients, not the time: add roughly 25% and go back to the doneness cues listed above.
What is the real yield per serving?
Use your own batch: divide the finished weight by the number of servings you plated. Pan size and evaporation change everything, so that is the only honest number.
Does it work in any air fryer?
Yes, but smaller baskets cook faster. Check 3 minutes early the first time and write down your machine's timing.
How well do leftovers keep?
Very well, following the storage table above. Freeze in flat portions: they thaw evenly and hold their texture.