Air Fryer Avocado Toast: 3 Tips for Perfect Crunch
Transform your morning routine with this air fryer avocado toast method. You will achieve a 100% superior crunch compared to traditional toasters in under 8 minutes. It is the best way to handle thick, low-carb bread slices.
The Crisp-Toast Balance: in practice
Why Air Frying Wins
Traditional toasters often burn the edges and leave the center soggy. Air fryers circulate heat at 375°F to toast the entire slice evenly.
Low-carb bread is dense and often requires more heat to crisp properly. The air fryer handles this texture better than any other appliance.
- Consistent heat distribution prevents burnt corners.
- Maintains moisture inside the bread for a better crumb.
- Works perfectly with frozen bread slices in 5 minutes.
Choosing Your Bread
Look for loaves with at least 5g of fiber per slice to keep the net carb count low. Dense breads hold up best in the high-speed air stream.
Avoid super thin slices that may fly around the basket. Use a thickness of at least 0.5 inches for the best structural integrity.
- Check labels for almond or coconut flour bases.
- Aim for under 4g of net carbs per slice.
- Avoid breads with excessive added sugars.
Mastering the Toppings
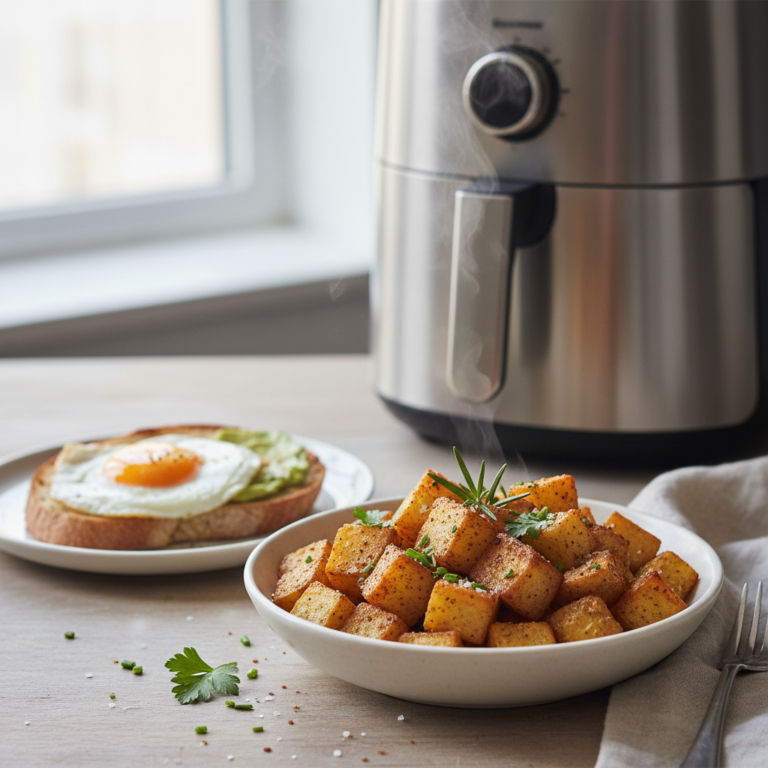
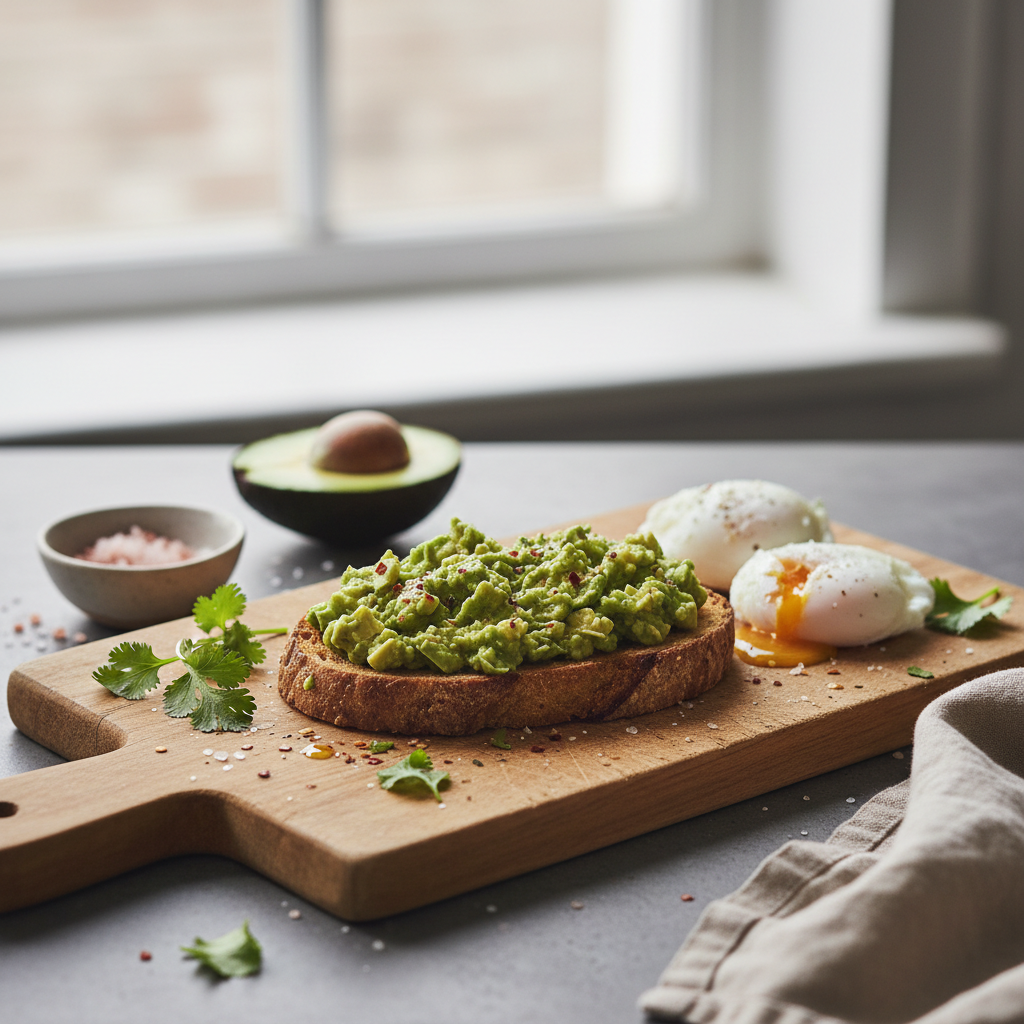
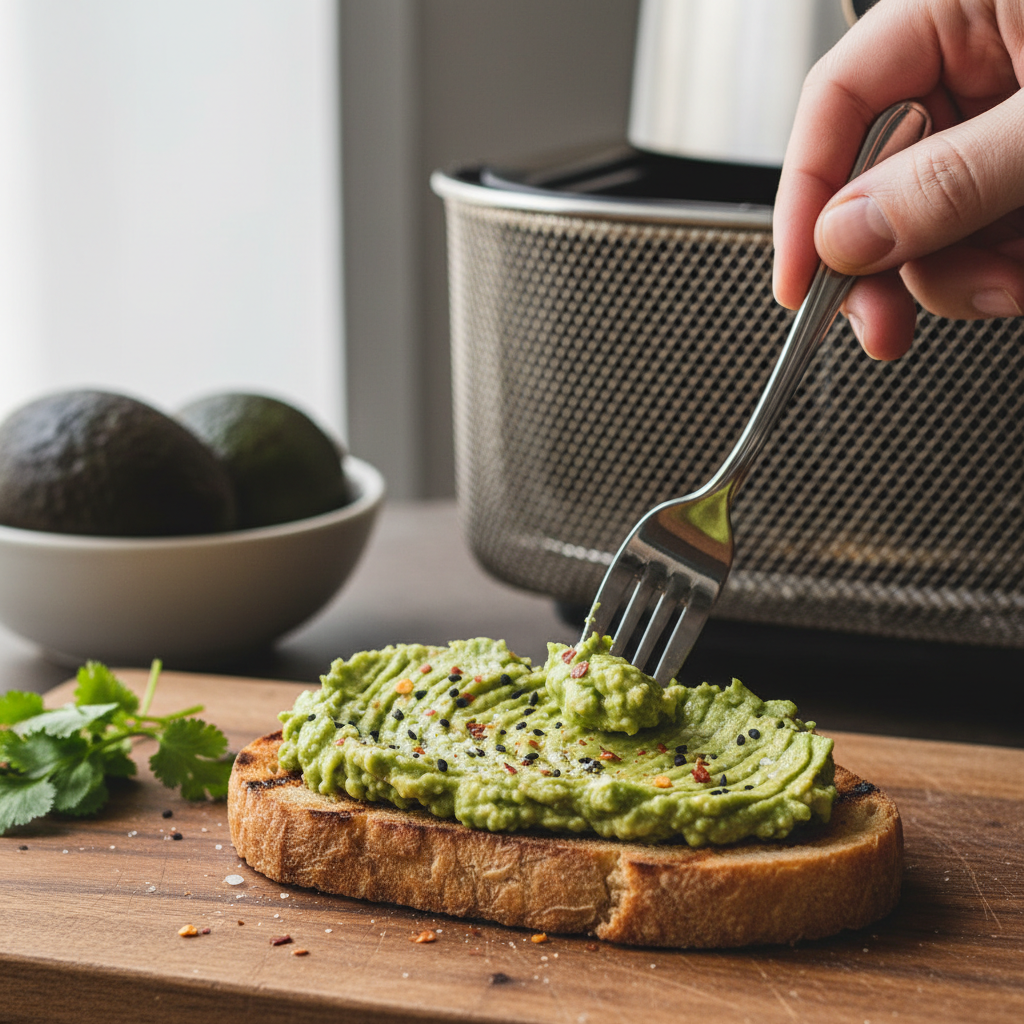
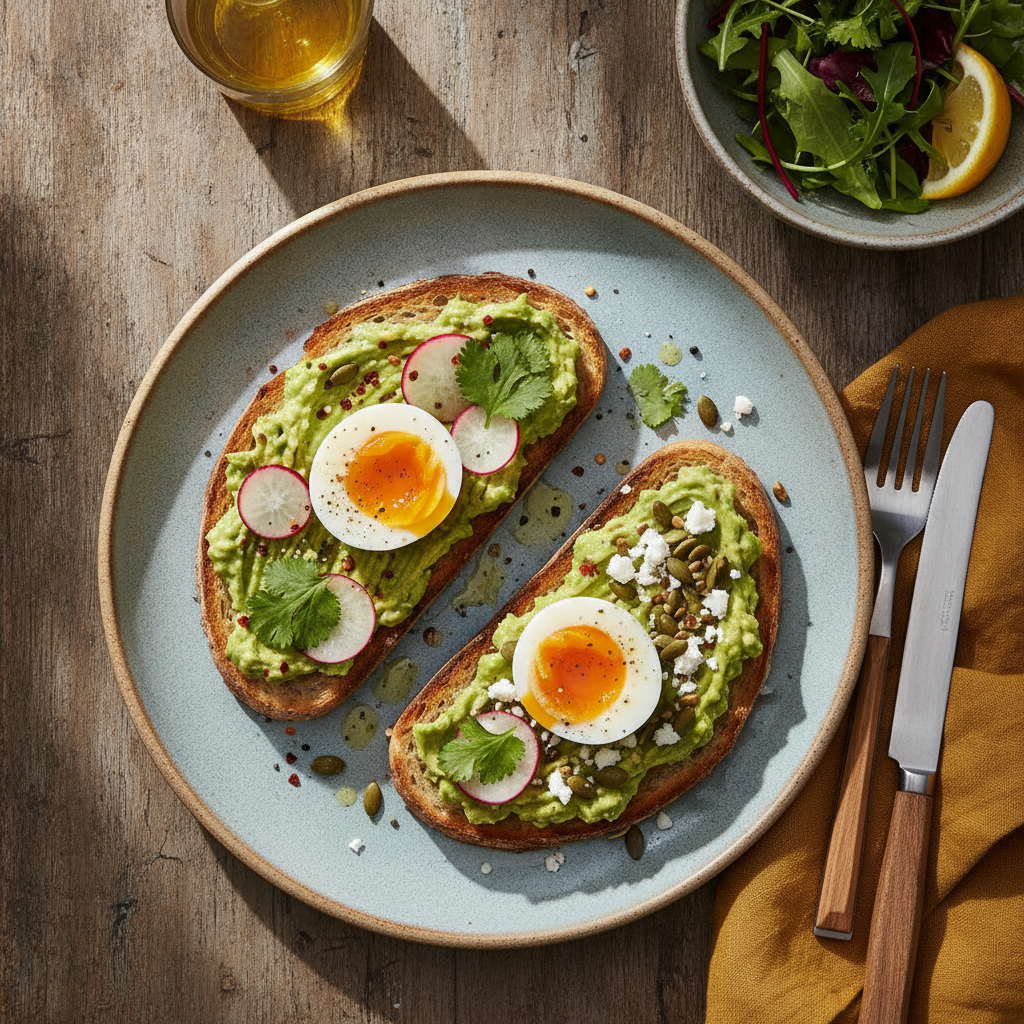
The secret to avocado toast is the texture contrast. Mash your avocado with a fork and add a pinch of sea salt and red pepper flakes.
Add a layer of protein like a soft-boiled egg to make it a full lunch. This keeps you full for up to 4 hours.
- Use ripe avocados that yield slightly to pressure.
- Drizzle with 1 tsp of extra virgin olive oil.
- Top with hemp hearts for extra crunch and Omega-3s.
Pros and honest limits
- Superior crunch
- Even browning
- Fast cleanup
- Limited basket space
- Bread can fly
- Needs constant monitoring
Troubleshooting Common Issues
If your toast is too dry, you likely used too much heat or skipped the oil mist. Adjust your temperature down to 350°F next time.
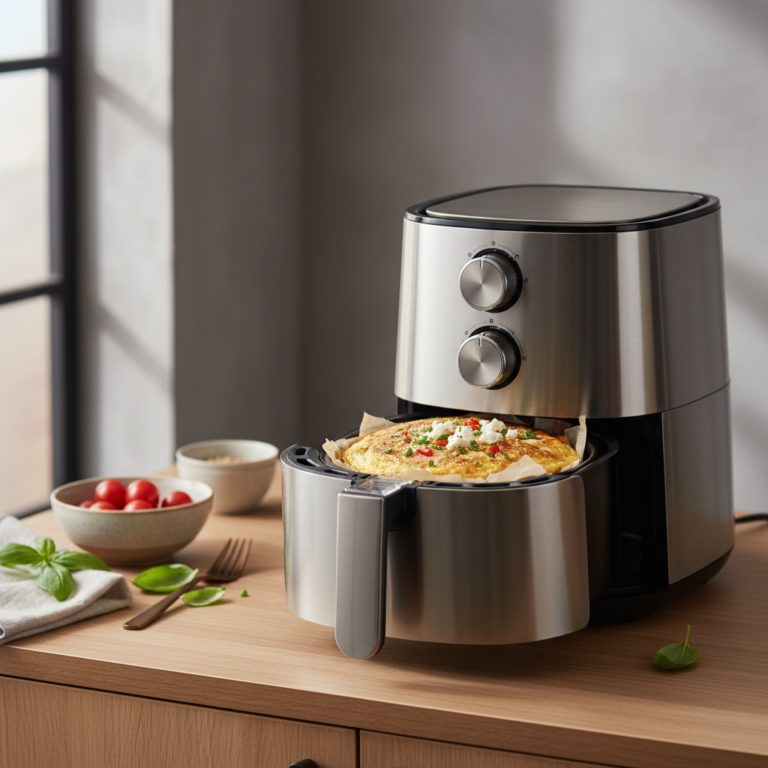
If the bread blows away in the basket, use a heavy piece of parchment paper. A small metal rack can also weigh down the slice.
- Reduce time if using a small compact air fryer.
- Always preheat for at least 3 minutes.
- Check bread at the 3-minute mark to avoid burning.
Practical comparison
| Method | Texture | Time |
|---|---|---|
| Air Fryer | Extra Crispy | 4 min |
| Toaster | Variable | 2 min |
| Oven | Soft | 10 min |
| Pan Fry | Greasy | 6 min |
Frequently asked questions
Can I toast multiple slices at once?
Yes, provided they fit in a single layer. Do not stack slices, or they will remain soft and steamy.
What if my bread is frozen?
Add 2 minutes to the cooking time. Start at 350°F to thaw before cranking to 400°F for the finish.
Is this healthy for weight loss?
Yes, if you stick to low-carb bread. It provides healthy fats from the avocado and fiber to keep you satisfied.
Does it smell like toast?
Yes, but be careful with crumbs. Clean your air fryer tray every 3-5 days to prevent burnt smells.
Conclusion
Mastering air fryer avocado toast is the fastest way to upgrade your breakfast. Stick to the 375°F timing and use high-quality bread for the best results. Give this method a try tomorrow morning and let me know how it turns out!
Related reading
---
As an Amazon Associate, I earn from qualifying purchases. Some links in this post may generate a commission at no extra cost to you.