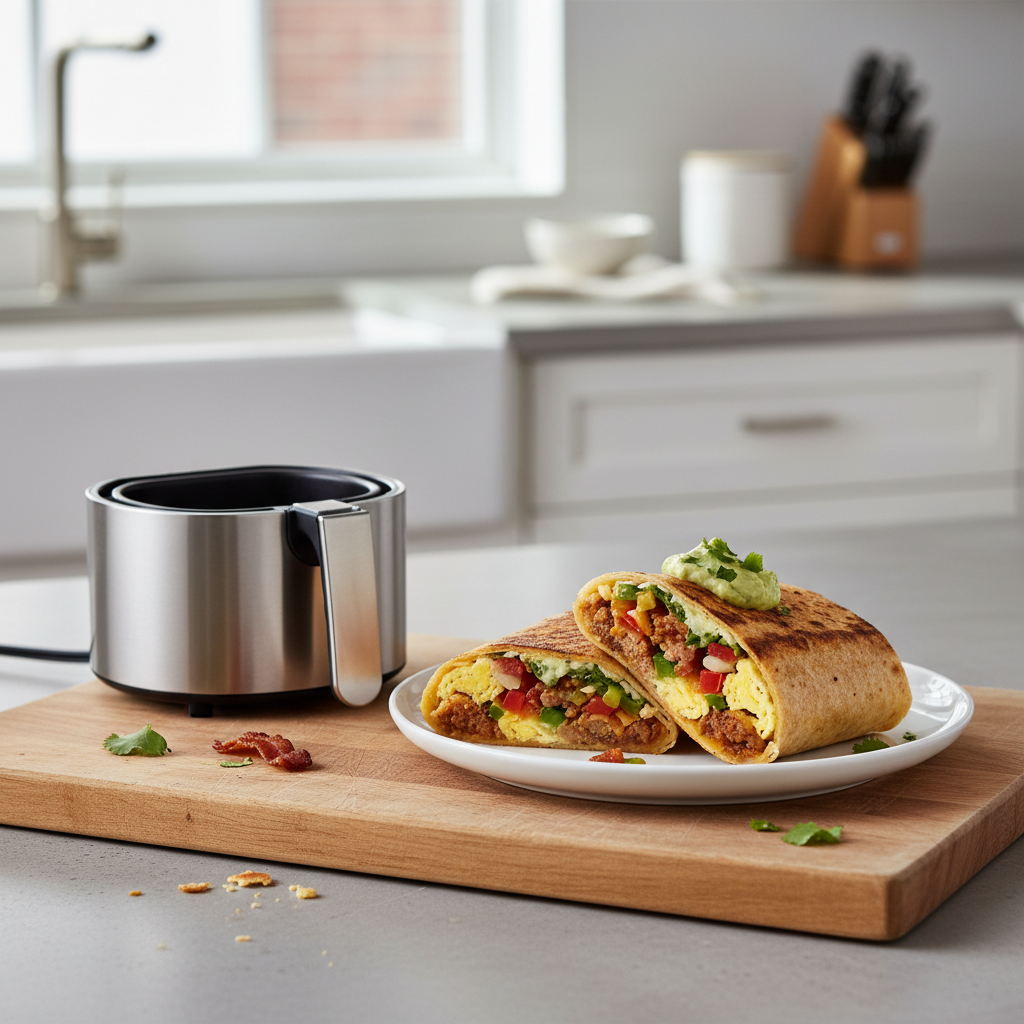
Air Fryer Breakfast Burrito: 12-Minute Crispy Perfection
Stop settling for soggy, microwave-warmed breakfast burritos. This method delivers a 100% crispy exterior and perfectly melted cheese in under 12 minutes. You will save 15 minutes of oven time and achieve a restaurant-style crunch at home.
The Tuck-Seal-Crisp Method: in practice
Ingredients for Low-Carb Success
Using high-quality low-carb tortillas is the secret to keeping your total carbs under 6g per serving. Avoid standard flour wraps which often contain 30g of carbs and get gummy in the air fryer.
Choose eggs that are slightly under-scrambled before rolling. They will finish cooking inside the burrito during the air frying process, preventing a rubbery texture.
- Use 8-inch low-carb tortillas with at least 5g of fiber.
- Pre-cook your breakfast sausage or bacon to 90% doneness.
- Grate your own cheddar cheese for better melt consistency.
Mastering the Air Fryer Temperature
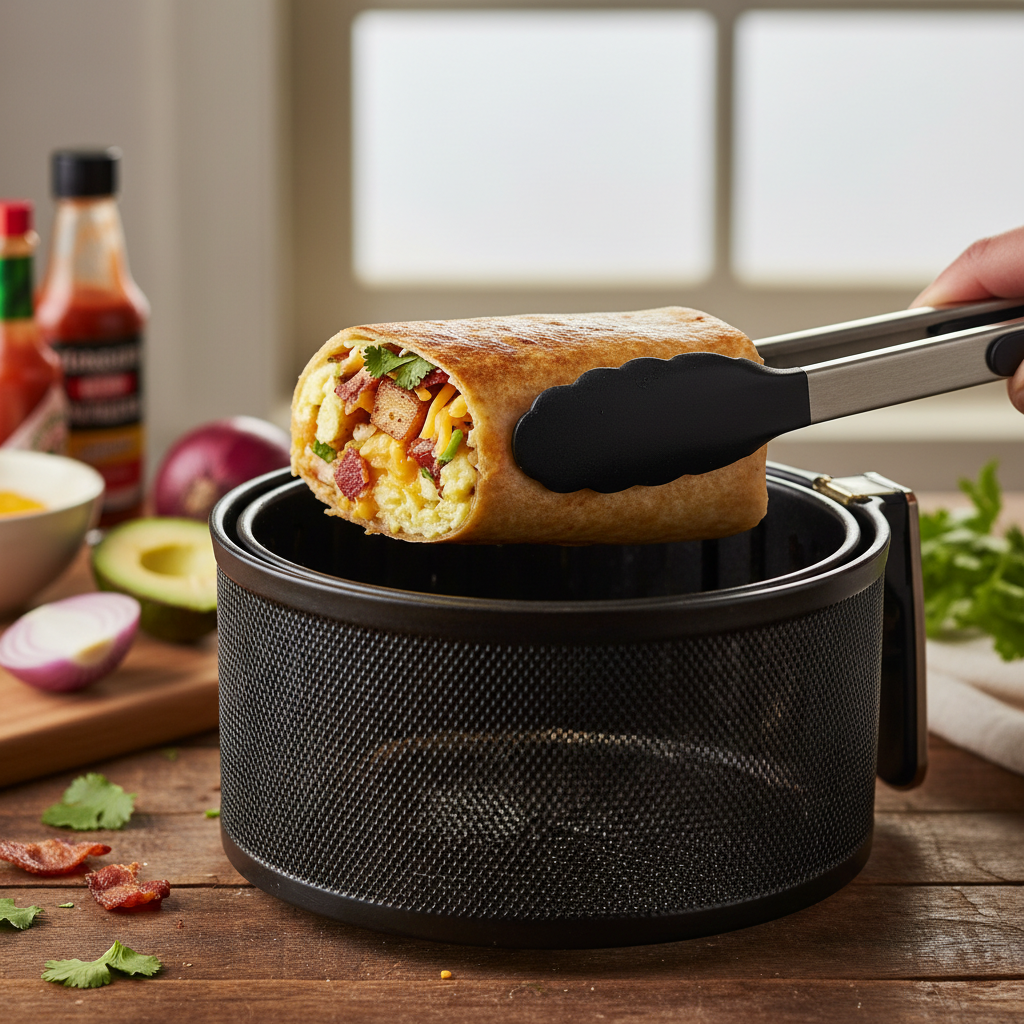
High heat is essential for a short cook time. I recommend 400°F to get the exterior crispy before the interior becomes overcooked or dry.
If your air fryer runs hot, check the progress at 4 minutes. You want a light golden color rather than dark brown, as the edges can burn quickly.
- Always preheat the unit for 3 minutes before inserting food.
- Do not crowd the basket; leave at least 1 inch of space between burritos.
- Use a light mist of avocado oil spray for maximum crunch.
Common Filling Pitfalls
Excess moisture is the enemy of a good breakfast burrito. Drain your cooked peppers and onions on a paper towel for 2 minutes before adding them to your wrap.
Avoid overstuffing your tortillas. A 6-inch to 8-inch tortilla only needs about 1/2 cup of filling to roll properly without bursting at the seams.
- Pat dry any canned green chiles or salsa ingredients.
- Cool hot fillings for 3 minutes before rolling to stop the tortilla from softening.
- Add high-fat ingredients like avocado after cooking, not before.
Pros and honest limits
- Consistent crunch every time
- Fast 12-minute cook time
- Easy to batch prep for the week
- Limited capacity for large families
- Requires flipping for even cooking
- Can burn if left unattended
Storing and Reheating Tips
You can prep these on a Sunday and store them in the freezer for up to 14 days. Wrap them individually in wax paper to prevent freezer burn.
When you are ready to eat, place the frozen burrito directly into the air fryer. Add 4 minutes to your cook time to account for the internal thaw.
- Freeze leftovers in airtight containers or freezer-safe bags.
- Reheat from frozen at 350°F for 8 minutes total.
- Label your bags with the date to ensure freshness within 2 weeks.
Practical comparison
| Method | Texture | Time (min) |
|---|---|---|
| Microwave | Soft/Gummy | 2 |
| Pan Fry | Greasy | 10 |
| Air Fryer | Crispy | 12 |
| Oven Bake | Dry/Hard | 25 |
Frequently asked questions
Can I use standard tortillas?
You can, but they will have significantly higher carb counts. They also tend to crisp up faster, so check them at the 3-minute mark.
Will the cheese leak out?
Only if you overstuff the burrito. Keep the filling in the center and fold tightly to ensure the cheese stays inside.
Do I need oil?
It is optional but recommended. A light spray of avocado oil helps the tortilla brown evenly and adds extra crunch.
Can I cook 4 at once?
Only if your air fryer basket is large enough to keep them separated. If they touch, the sides will stay soft.
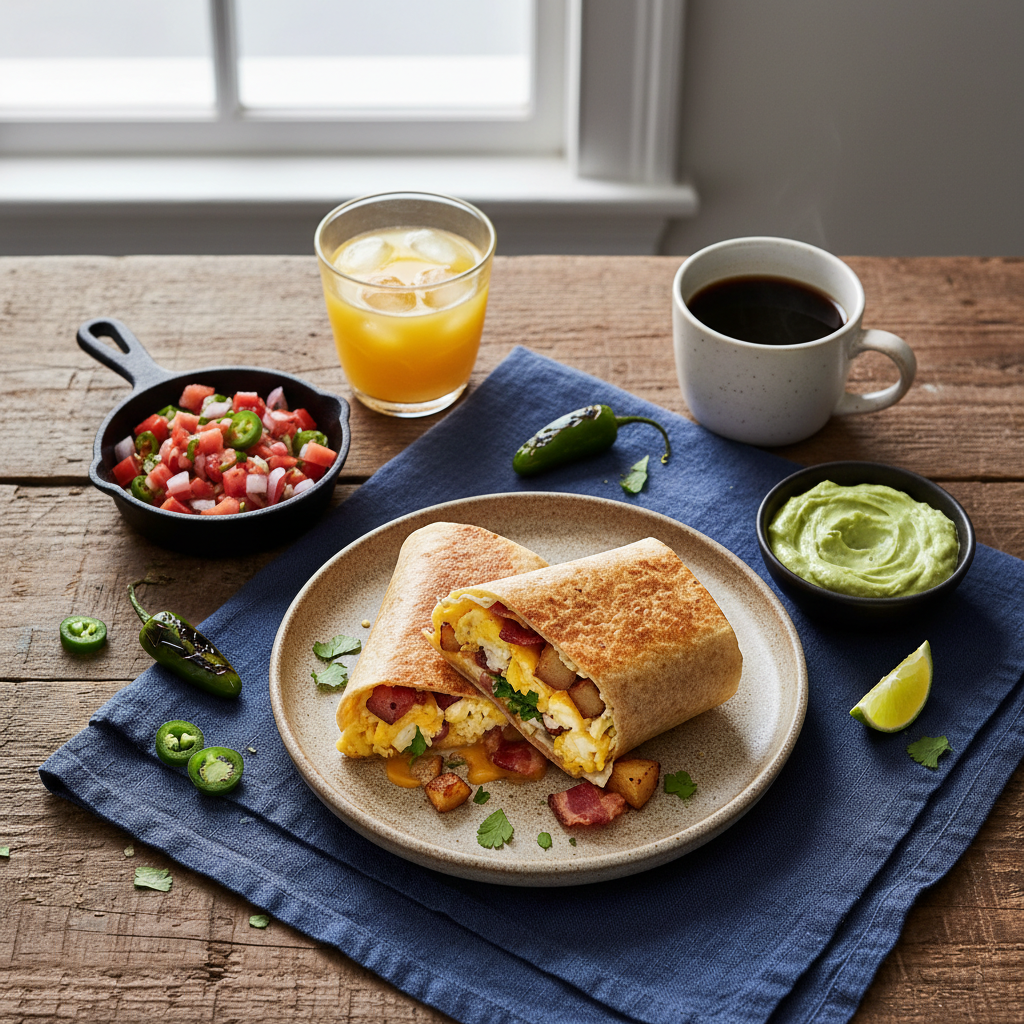
Conclusion
Mastering the air fryer breakfast burrito is the ultimate low-carb hack for busy mornings. With just 12 minutes of heat, you get a premium texture without the drive-thru cost. Try this method tomorrow morning and let me know how it changed your breakfast routine!
Get easy air fryer recipes every week
Air fryer, low-carb and quick meals straight to your inbox. Unsubscribe anytime.