Your First Time Using Air Fryer: 3 Easy Steps to Perfect Results
Mastering your first time using air fryer takes less than 15 minutes of hands-on time. By following this simple approach, you can achieve 100% crispy, low-carb results without the mess of deep frying.
The 3-Step Crisp: in practice
Why Texture Matters
The secret to low-carb cooking in an air fryer is moisture evaporation. You need that hot air to hit the surface of your protein immediately to create a crust.
If you crowd the basket, you are essentially steaming your food instead of frying it. Keep the air moving for the best results.
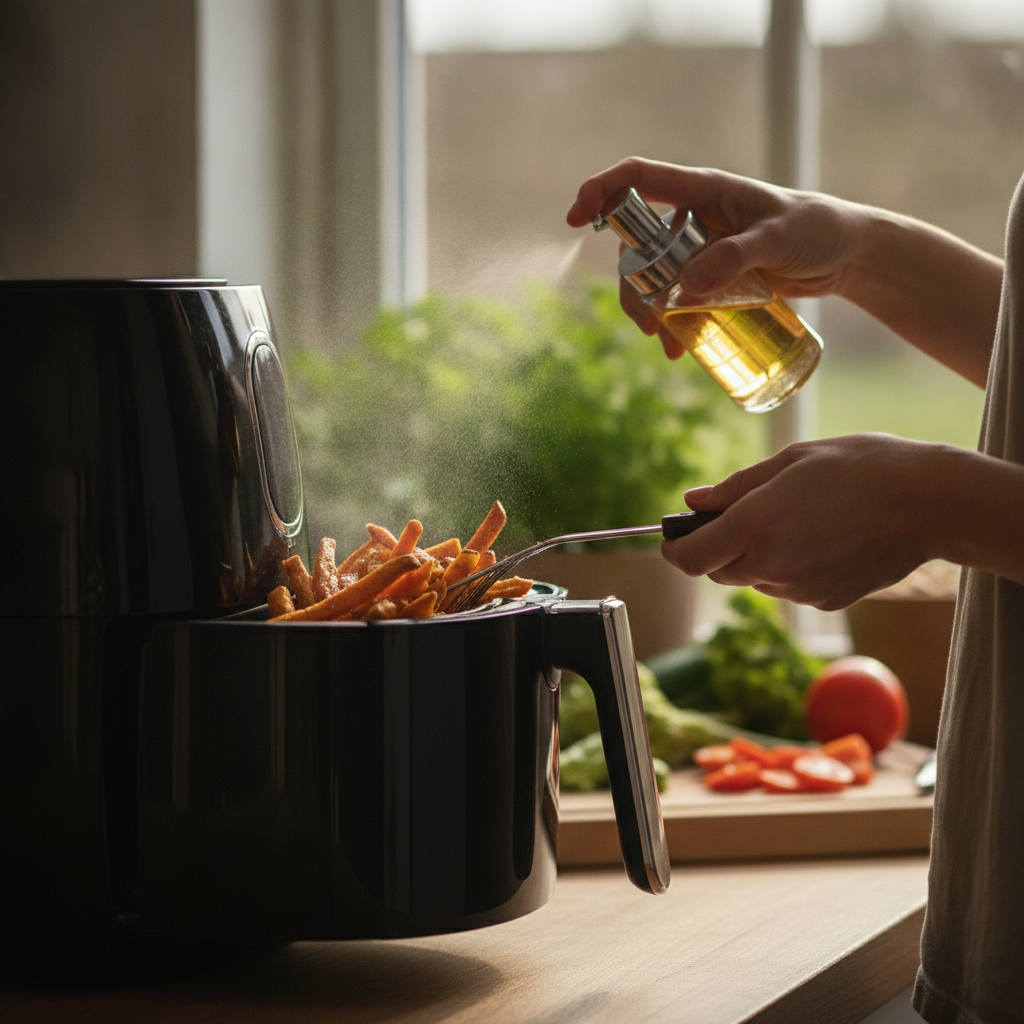
- Use a light spray of avocado oil to help browning.
- Never fill the basket more than 75% full.
- Dry your meat with a paper towel before seasoning.
Handling Low-Carb Ingredients
Most low-carb ingredients like chicken thighs, broccoli, or zucchini have high water content. You need to adjust your expectations and times accordingly.
Vegetables often finish in 8 to 10 minutes, while meats need closer to 15 or 20 minutes depending on their thickness.
- Toss broccoli with 1 tbsp of oil for best crisp.
- Use a meat thermometer to ensure chicken hits 165°F.
- Keep seasonings like garlic powder minimal, as they burn fast.
Safety and Maintenance
Your air fryer gets incredibly hot inside, reaching temperatures up to 400°F. Always place it on a heat-resistant surface with at least 5 inches of space behind the vents.
Cleaning your unit after every use prevents smoke during subsequent cooks. A simple wipe down with a damp cloth takes less than 2 minutes.
- Unplug the unit before you start cleaning.
- Use silicone-tipped tongs to avoid scratching the non-stick coating.
- Let the basket cool for 10 minutes before washing.
Pros and honest limits
- Cuts cook time by 50% compared to conventional ovens
- Produces superior crunch without added heavy fats
- Easy to clean with minimal soap and water
- Small capacity limits cooking for large families
- Can dry out lean meats if left too long
- Requires specific trial and error for different models
Common Troubleshooting
If your food comes out white or soggy, you likely didn't use enough heat or you overcrowded the basket. Don't worry, even experienced cooks make this mistake.
Adjust your time by 2-minute increments if your food isn't quite done. It is better to pull it early and add time than to overcook it.
- Check your food 3 minutes early to avoid burning.
- Use parchment paper liners for easier cleanup on sticky items.
- Avoid using metal utensils on the basket coating.
Practical comparison
| Food Item | Temp (°F) | Time (min) |
|---|---|---|
| Chicken Thighs | 400 | 15 |
| Broccoli Florets | 375 | 8 |
| Salmon Fillet | 380 | 10 |
| Zucchini Slices | 400 | 7 |
Frequently asked questions
Do I really need to preheat my air fryer?
Yes, 3 minutes of preheating ensures the initial blast of heat is at the correct temperature for immediate crisping.
Can I use aluminum foil in my air fryer?
You can, but ensure it is properly weighted down so it doesn't fly into the heating element and cause a fire.
Why is my air fryer smoking?
Usually, it is leftover fat or crumbs in the bottom of the tray. Clean it thoroughly between every single use.
Is the air fryer actually just a convection oven?
Essentially yes, but the smaller chamber and high-powered fan create much faster air movement for crispier results than a standard oven.
Conclusion
Starting your first time using air fryer is all about confidence and consistency. Stick to the 400°F baseline for most meats and always remember to shake your basket. Once you get the hang of these basics, you will never go back to the oven. Happy cooking and enjoy your crispy, low-carb meals tonight!
Get easy air fryer recipes every week
Air fryer, low-carb and quick meals straight to your inbox. Unsubscribe anytime.